A weathered opportunity?
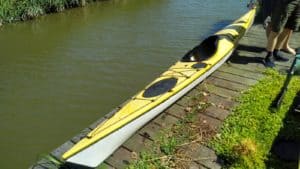
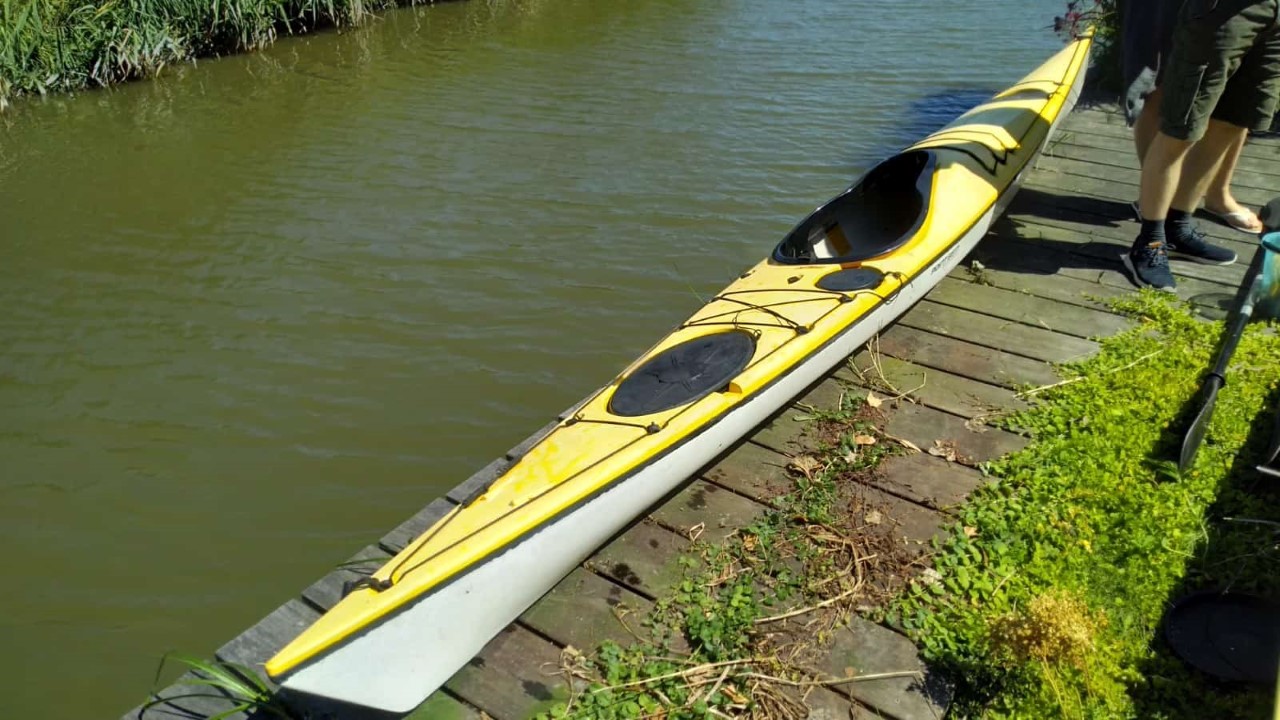
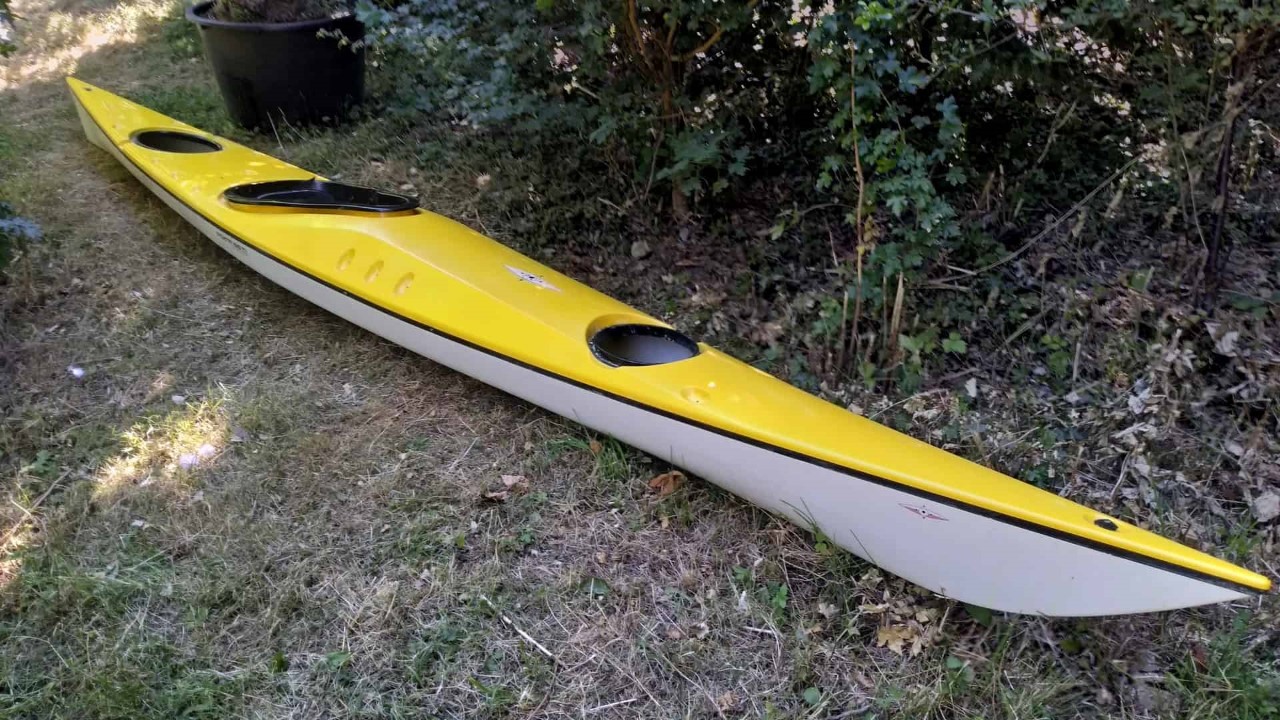
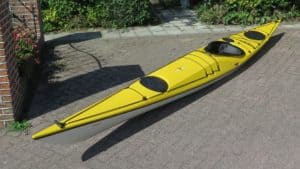
I found two Point 65° North sea kayaks on the Internet. I knew the brand particularly from the modular PE boats, but in the past they also made nice polyester boats. At first sight the kayaks seem to be a bargain. Costing € 2200,- each in 2006, I paid just € 200,- for each boat. Included: two paddles, a spray skirt and carriers for transportation on the car roof. Smooth, free of damage, but also exposed to the sun for years, which had also taken its toll. The yellow gelcoat became almost white, the deck fittings crumbled upon touch and the rubber lids were badly dried up. But hey, for that little money…
Track & Trace of the X-Rays
There are X-Rays and Whisky 16 kayaks that are a bit of less quality. The X-Ray has been manufactured on different yards, leading to different levels of finish. The X-Rays I purchased seem to be well made upon inspection. I sent the hull numbers (XRAY FGS 06100 and XRAY FGS 06032) to Point 65 and I got a quick reply from Sweden: the boats are build in 2006 at Tahe Marine in Estonia. That’s where the high quality boats were made! And are still made, by the way.
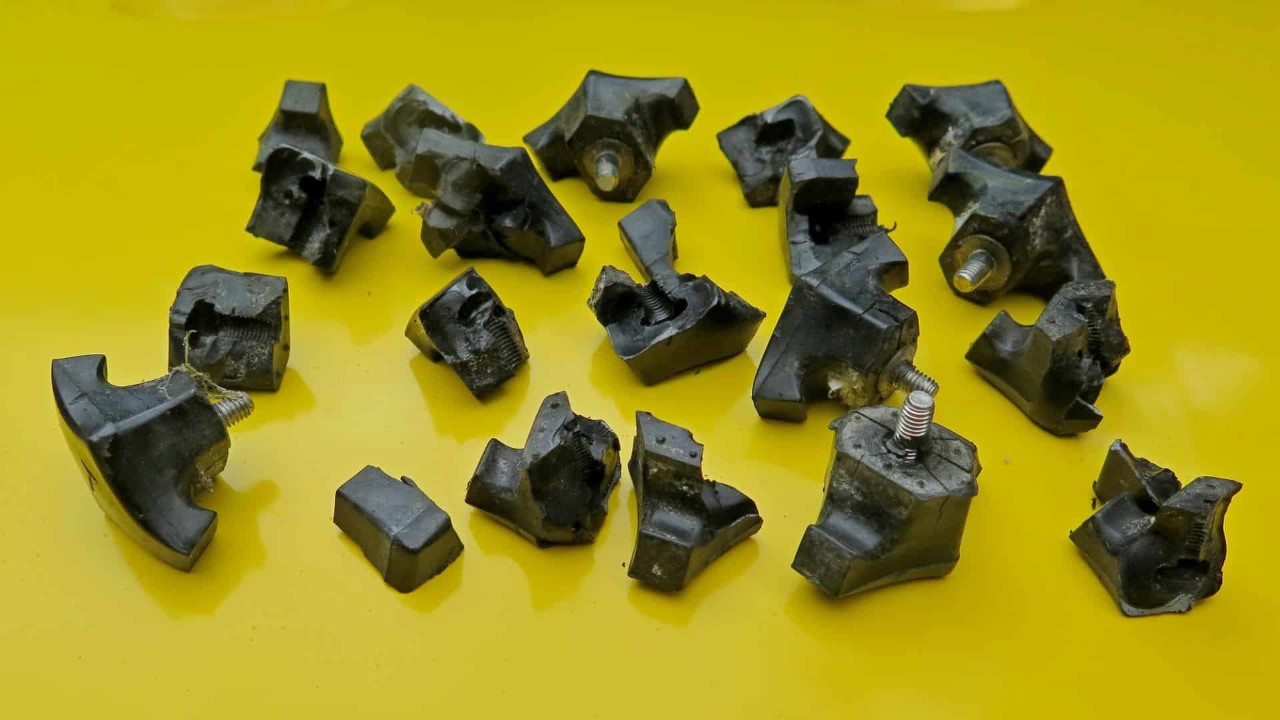
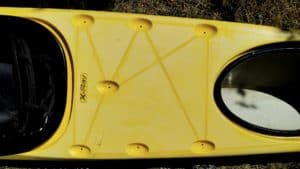
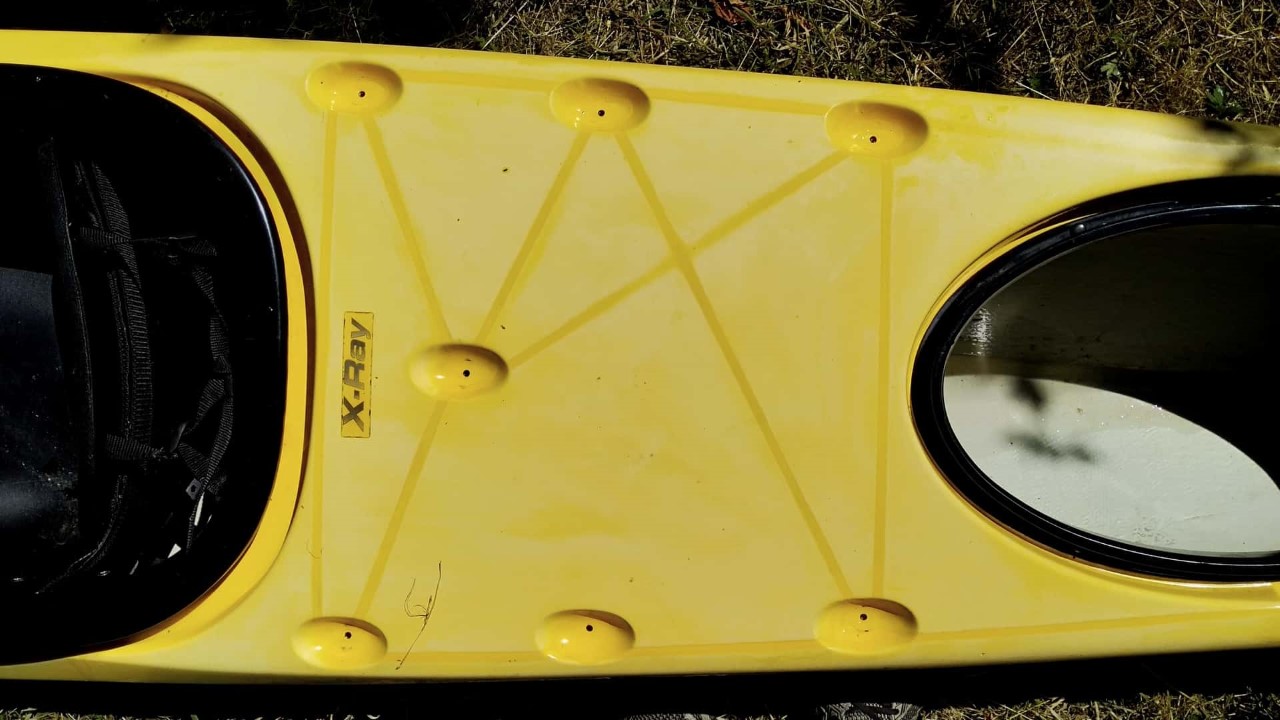
Badly degraded deck fittings
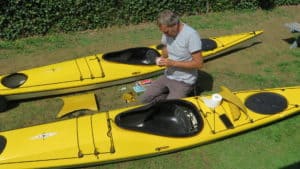
Full disassembly
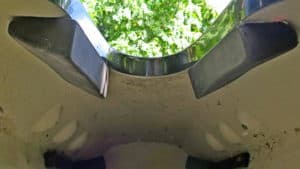
The many deck fittings weren’t willing to come loose. The black plastic kept on fracturing due to years of ultraviolet radiation. The nuts on the inside were embedded in the polyester which made using a spanner cumbersome. The nuts were not that well embedded to remain fixed during disassembly. Inserts would have been a more elegant solution. Anyway, replacing faulty deck fittings is essential on a sea kayak. Always regrettable when a fellow kayaker disappears in the waves while clinging to a loose deck line.
-
- The drops of water reveal the original colour
-
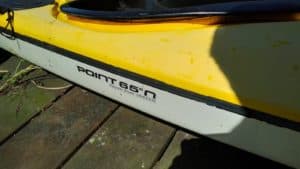
- The white coating is still okay

-
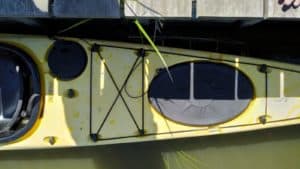
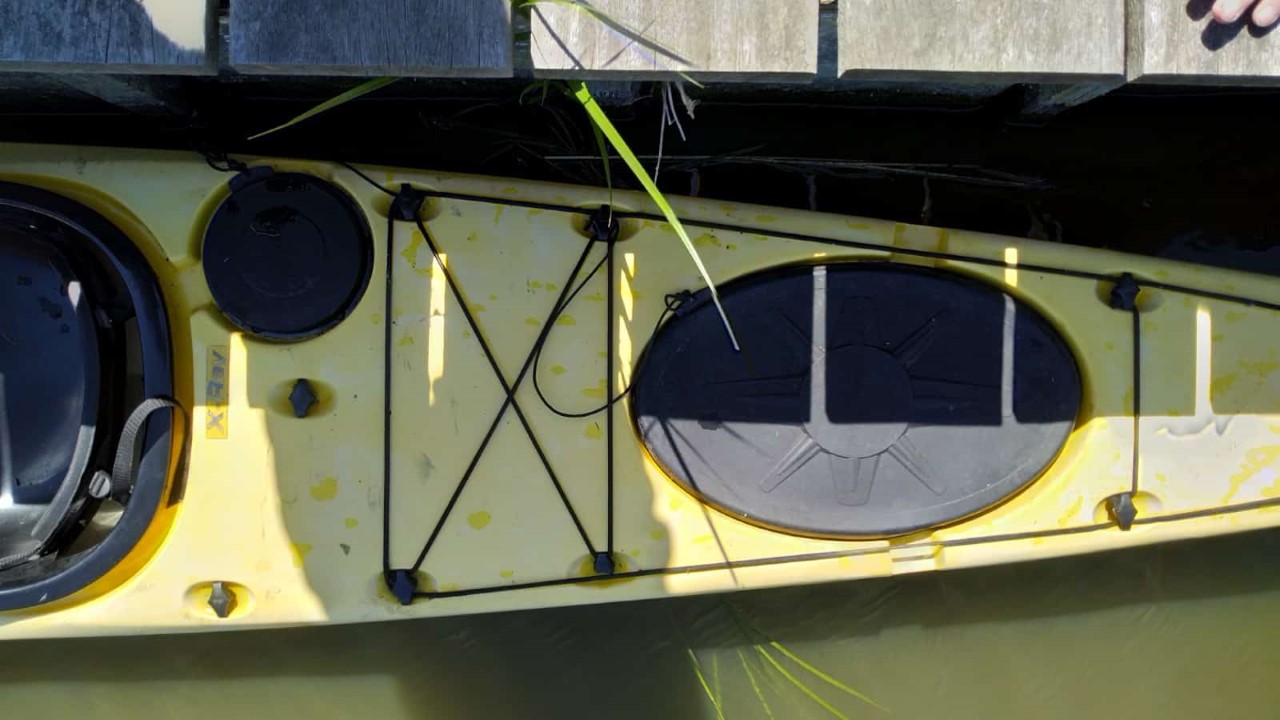
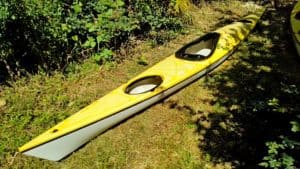
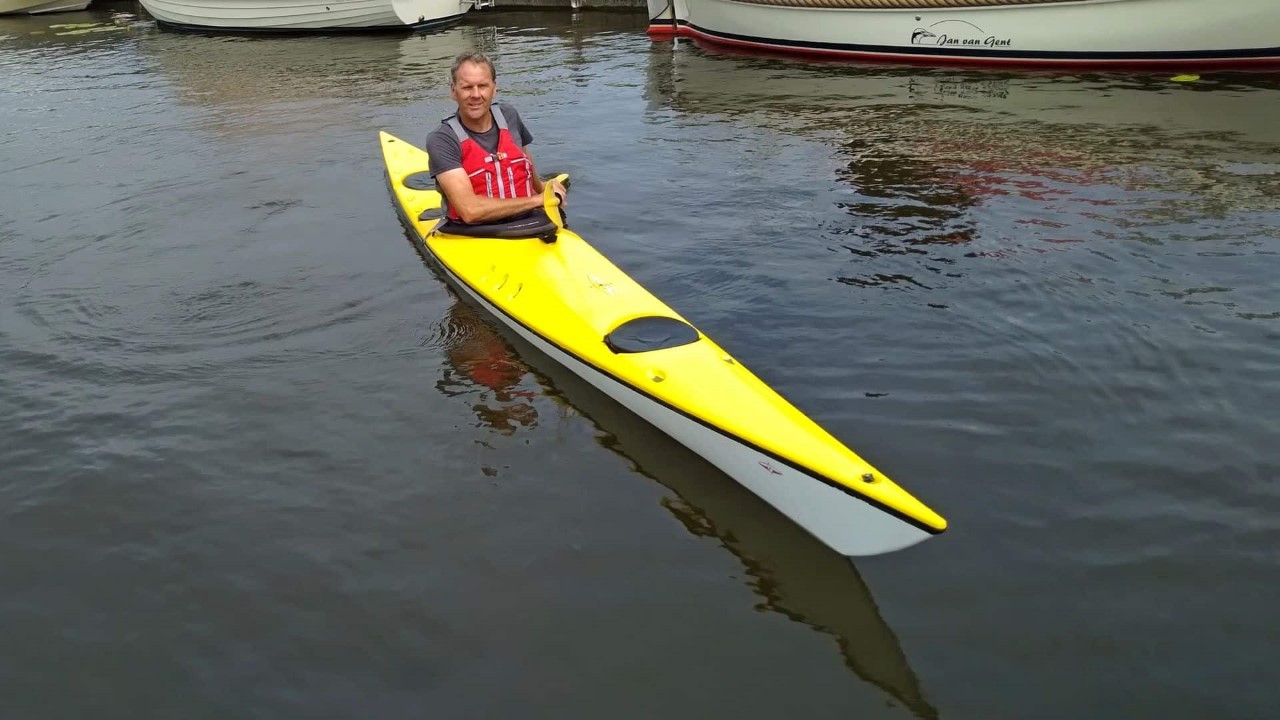
- The X-Ray with day hatch
-
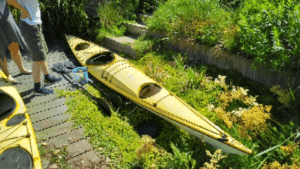
- And the one without day hatch

Polishing does wonders
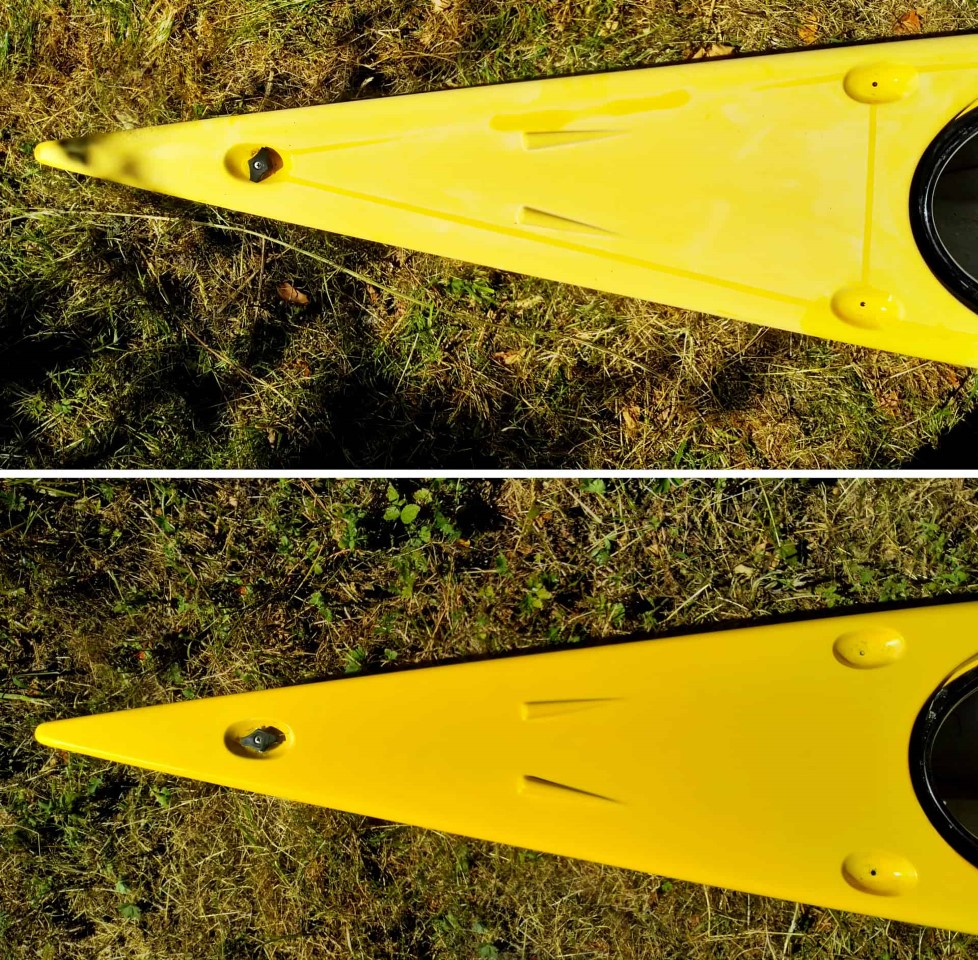 After a thorough wash with water I polished the once yellow surface with sand paper 1200. Even with such fine grain always be sure not to polish through the coating! Start with a small section, clean well, check if the scratches are acceptable. Indeed, even with grain 1200 there will be scratches. Applying a polishing paste afterwards resulted, in my case, in a smooth surface. If you’re not very experienced with this kind of work, then start with a small section, if possible an area which will be more or less out of sight later on. I chose to polish with water, to minimise the amount of dust. Also it enables me to wipe the slurry away with an old cloth, keeping it out of the environment.
Before you start: ask a canoe/kayak supplier about the possibilities of restoring a weathered coating. If you have a boat that has a crackled surface, then that’s also possible to repair, but there will be considerable more work involved.
-
- Below the deck lines the original colour is visible
-
- Looks strange without the deck lines

-

- Improved massively!
-

- Coating seems new

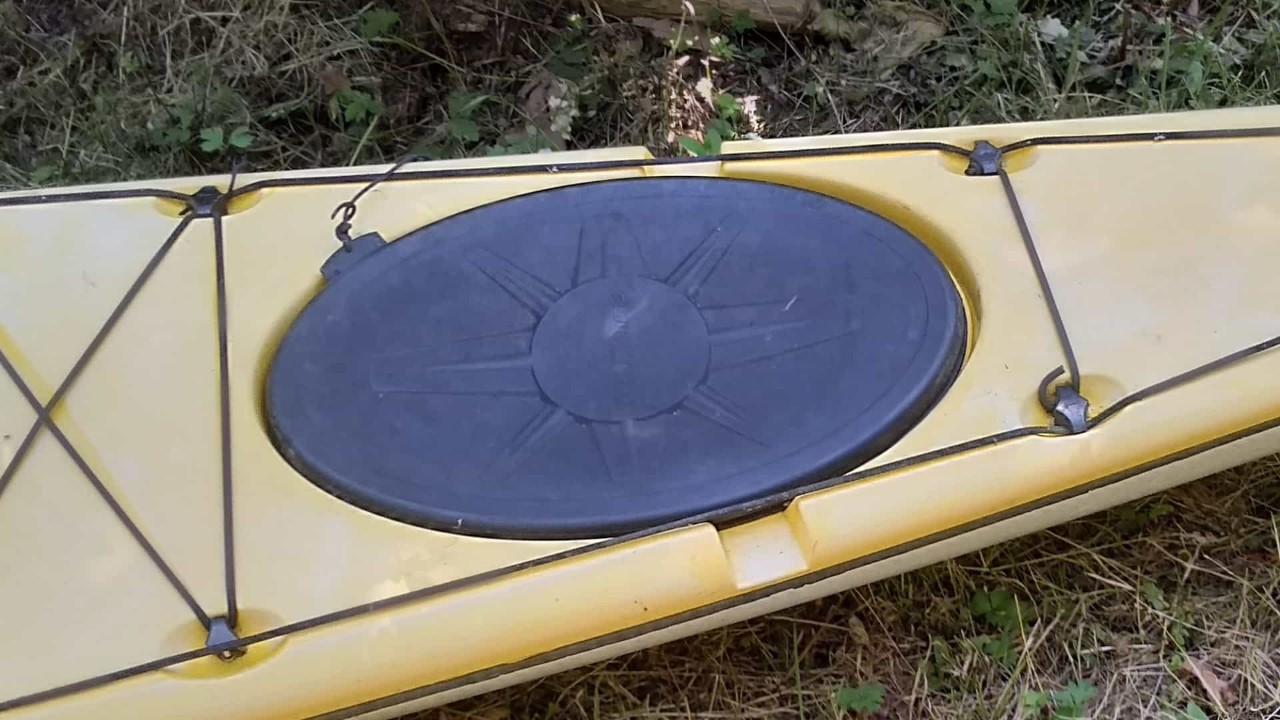 Pricey lids
I considered the rubber hatches as lost and calculated about € 100,- for each boat to replace them. However, the rubber did indeed become dry and rigid, but was free of cracking. I repeatedly rubbed vegetable oil on them, in this case peanut oil, but probably any vegetable oil will do. After several hours the suppleness had returned completely! There are also remedies commercially available which should give the same result (like the water based Hobie Protectant ). If these are as environmentally friendly as my vegetable oil is hard to say. In the end the boats will be in contact with water and it’s undesirable if you bring all kinds of chemicals into the water while paddling. The trick with the vegetable oil worked fine en I was willing to take some risk considering the initial state of the hatches.
Still a bargain
So, up till now the investments are less than anticipated. With the unexpected good condition of the hatches these kayaks indeed prove to be a bargain. Well, as long as I do not include the hours of work of course. These hours are pure fun by the way: the boats smarten up gradually and when the first tour takes place it will definitely feel different than a brand new purchased kayak!
Specifications Point 65° North X-Ray
Length: 510 cm
With: 57 cm
Weight: 25 kg
Capacity: 155 kg
Total volume: 352 l
Cockpit: 76 x 41 cm
Front hatch: 24 x 24 cm
Rear hatch: 44 x 26 cm
Day hatch: 15 x 15 cm
Rudder: optional
Skeg: installed
Design: Johan Wirsén
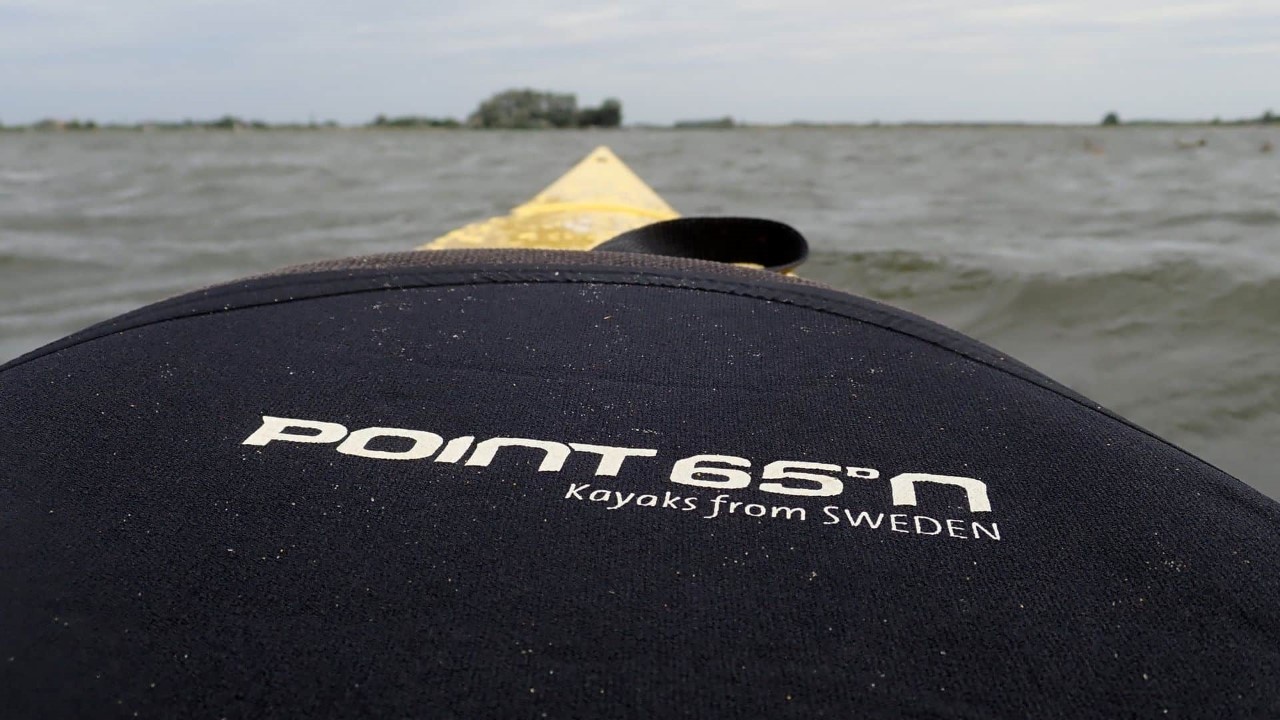
29 July 2018 – Shakedown cruise
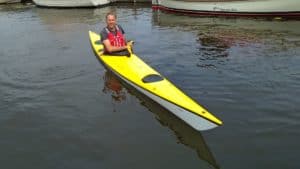
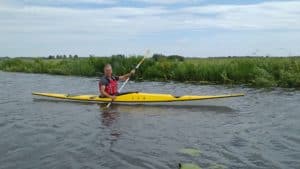
Awaiting the deck fittings I made the very first kilometres. A 6 Beaufort wind made the water of the local lake a rather big challenge. A good opportunity to develop my brace reflexes. The boat has a nice low stern and despite the strong winds I could steer the X-Ray easily in the desired direction. The initial stability is often described as somewhat wobbly, but in general paddlers say you forget about that after a couple of hours. The secondary stability on the other hand is really good, making edging very secure. All in all a very fast boat, comfortable, good looks, first experiences are more than positive!
Taking the kayak to sea is not an option in the absence of deck lining, but for now inland water is great too!
-
- No deck lines yet
-
- Strong wind

-
- Neoprene spray skirt
-
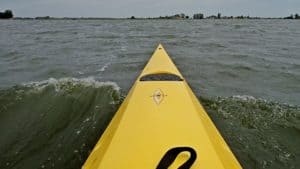
- surfing on the waves

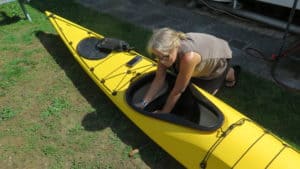
10 August 2018 – making knee supports
Purchased a piece of closed cell foam at Kanocentrum Arjan Bloem and shaped it with saw, knife and sand paper to fit it to the inside of the kayak, while the other side supports my knees. Attached it to the hull with double-sided tape temporary, to be able to adjust it if necessary, before fixing it permanently. Contact with the boat is definitely massively improved. Good knee support indeed is essential: edging is much more secure and the overall control of the boat is much better.
-
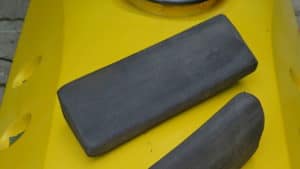
- The supports after shaping

-
- The knee supports in place

- Sanding with fine grade sand paper is perfect. Try to keep the dust out of the environment.
- Make sure the knee supports never interfere if you need to leave your boat quickly. If you overturn, no obstruction is permitted.
- Before gluing put tape on the surfaces you are going to attach to the hull. Rub the tape well into the foam and remove it again, pulling all loose material from the pores of the foam. This improves bonding afterwards considerably.
14 August 2018 – Refitting the deck fittings and lines
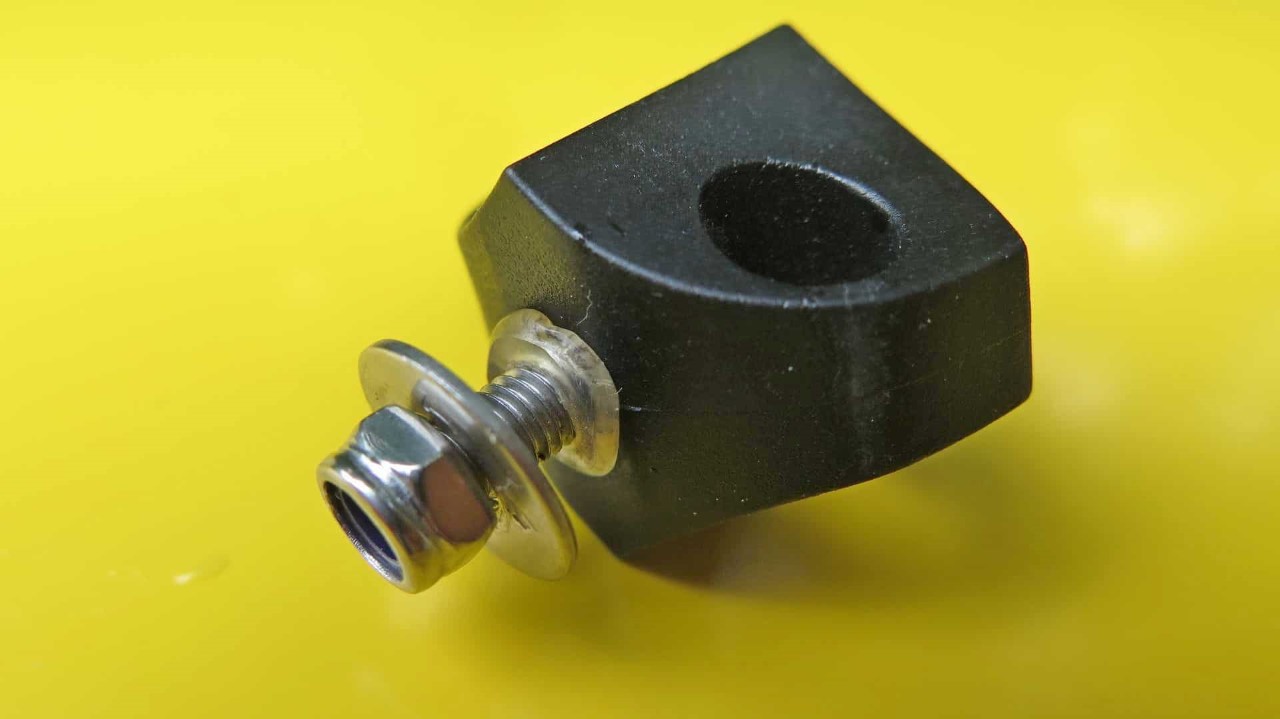
Kanozee delivered the deck fittings today, the original ones that fit perfectly in the recesses in the deck of the X-Ray. Assembling was easily done, with the exception of the two fittings at the ends of the kayak. By sticking the nuts plus washer on the end of a stick we could manoeuvre them under the holes to be able to attach the last two fitting as well. Of course only stainless steel materials were used to fasten the fittings. Lock nuts were used to ensure everything will remain in place. Deck lines and shock cords were refitted too and the kayak is ready for open sea!
-

- The plastic ring prevents water leaking in
-
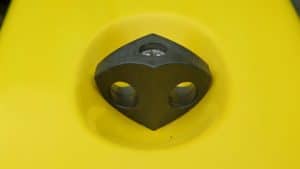
- Perfect fit!

-
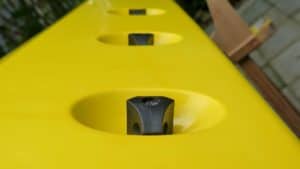
- These were easy to attach

-

- Deck fittings back in place

-

- The handgrip

-
- The final result!

Same procedure for the other kayak
The whole sequence was repeated for the second X-Ray, bringing this project to an end. Let’s paddle some kilometres!
-
- Putting some foam on the inside
-
- Refitting the back rest

Posing with the end result. The deck lines really complete the picture.